I love snow days. There’s nothing more fun than bundling and playing outside in a winter wonderland with my kiddo and dog. But I can only really handle 2 or 3 days of snow before I begin to dread the bundling and unbundling process.
Insert snow painting sensory bin. I put some snow in our sensory bin, added some paint supplies and colored water, and voila! We had fun playing in the snow without the hassle of dressing everyone up in layers of clothing to go outside.
Snow Painting Sensory Bin
Here’s what you’ll need
Large, shallow container
Fresh snow
Paint containers
Smaller containers and scoops
Colored water (water + food coloring or washable paint)
Paint brushes
Droppers
The supplies
The Setup
For this snow painting activity, I pulled out our trusty 28qt plastic container. Before I filled the container with snow, I laid down a bunch of old towels to cover our kitchen floor. This activity can get a bit messy, so it’s best to cover your floors prior to bringing any snow inside.
Next, set up the “painting” supplies. Take paint containers (or other containers you don’t mind getting messy) and fill with water. Then add a few drops of food coloring or washable paint in each cup. Stir until mixed.
Finish the setup by laying out your paint, paint brushes, droppers, smaller containers and scoops. Lastly, take your big sensory bin outside and fill with fresh snow.
Now you’re ready to have SNOW much fun painting a frozen masterpiece!
Setting up a Snow Painting Sensory Bin is an easy way to enjoy the flurries without the hassle of getting everyone ready to go outside. It’s the perfect snow day activity for toddlers and preschoolers alike!
If you enjoyed this post, make sure to check out more at-home activities! And make sure to follow One Little Small Blog on Pinterest for even more great ideas!
5 Easy Thanksgiving Activities
Looking to gobble up some fun? Here are 5 easy Thanksgiving turkey-themed activities and crafts to do with your little ones this Thanksgiving.
5 Easy Thanksgiving Activities
[ONE] Paper Plate Turkey
Monster Paper Plate Turkey
The Paper Plate Turkey is a fun activity for creative kiddos, and can be used as Thanksgiving decor once it’s complete. For this activity, you’ll need a white paper plate, toilet paper roll tube, glue, art supplies (markers, crayons, paint, etc.), and various decorative craft supplies – such as feathers, pom poms, stickers, googly eyes, and more.
Cut the paper plate in half, and let your child go to town decorating the turkey’s body (toilet paper roll tube) and fan (the paper plate). Once their masterpiece is complete, glue the TP roll to the paper plate. Let dry before displaying.
[TWO] Pumpkin Turkey
Pumpkin Turkey
Have any pumpkins leftover from Halloween? Put them to use with this Pumpkin Turkey activity. For this activity you will need a pumpkin, hammer (we used a plastic toy hammer), golf tees, and art supplies to create a turkey face.
We started by using paint markers to create a turkey face on our pumpkin (the one pictured is a turkey monster pumpkin). Once the face was dry, we created the turkey’s fan by using colored golf tees and hammering them into the back. It does take a certain amount of strength to hammer the golf tees in so that they stay in the pumpkin, so this activity is probably best for ages 3 and up.
For a pumpkin-free version of this activity, use a large ball of play-doh similar dough.
[THREE] Color Match Turkey
Color Match Turkey
There are so many ways to do this activity. The main focus is to match some sort of item or medium to different colored turkey feathers.
I chose to setup our color match turkey activity to focus on cutting and glueing skills. I started by drawing a turkey on a large piece of paper. Next, I drew feathers, outlining each with a different color marker. Last, I gathered scrap paper in all the different colors of the feathers.
To make the turkey come to life, my son cut up the paper into smaller pieces, then glued the pieces to each corresponding feather.
Thankful Turkey Supplies
[FOUR] Nature Turkey
Nature Turkey
Take all those pinecones and leaves that your kiddo insists on keeping in your home and turn it all into a Nature Turkey. For this activity you’ll need a pinecone, a variety of leaves in different sizes, play-doh, piece of cardboard or paper plate, and a turkey face.
To create the turkey’s body, I used play-doh to stick the pinecone upright on a piece of cardboard. You can also use a paper plate or other surface you don’t mind getting play-doh on. I created a simple turkey face with some scrap paper from the Color Match Turkey activity and more play-doh to stick that onto the pinecone.
To create the turkey’s fan, have your child stick the leaves in the back of the pinecone. This is MUCH harder than it sounds! If anyone starts to get frustrated, put more play-doh on the back of the turkey, and then stick the leaves to the play-doh.
[FIVE] Thankful Turkey
Thankful Turkey
I love the idea of creating a Thankful Turkey every year. It’s a great opportunity to teach young children about the concept of being thankful. I started this tradition with my son when he was 3 years old.
To create our thankful turkey, I used two different sized mixing bowls and traced 2 circles on a large piece of brown construction paper. Next, I cut out the two circles, along with feathers I traced on pieces of different colored construction paper. I glued the turkey’s body onto a large piece of construction paper and decorated the turkey’s face and legs.
To create the turkey’s fan, add a feather with one thing your child is thankful for throughout November.
Thankful Turkey
Thankful Turkey Supplies
Thankful Turkey
I hope you have fun doing these turkey-themed activities with your little turkeys this Thanksgiving.
If you enjoyed this post, don’t miss our other fun at-home activities! And make sure to follow One Little Small on Pinterest for even more great ideas.
5 Easy Halloween Activities
Bummed about this lovely, rainy October weather? Here are 5 easy Halloween activities to keep your toddler or preschooler entertained at home.
5 Easy Halloween Activities
[ONE] Halloween Bubble Foam
Halloween Bubble Foam
Break out your sensory bin and body wash for this sudsy fun activity. Bubble foam is an easy activity to whip up, and becomes a Halloween activity by adding food coloring and spooky trinkets. For this activity you’ll need:
Mixer (stand or hand held)
2 cups of water
1/2 cup of body wash
Food coloring
Combine water, body wash (any brand), and food coloring (4 drops of yellow and 2 drops of red to make orange) in bowl. Mix on HIGH until enough foam is made to fill your container. Pour foam into sensory bin or large, shallow container. Add in smaller sized containers and scoops, paint brushes and a whisk. Top off with spooky Halloween trinkets such as eyeballs and spider rings.
[TWO] Toilet Paper Tube Monsters
TP Roll Monsters
You really can’t go wrong with this activity. Grab a few empty toilet paper rolls, a variety of age-appropriate art supplies, and presto – you’re ready to create your own hoard of monsters.
When making TP monsters with my four year old, we used markers, colored pencils, Halloween foam shapes, glue, and googly eyes. The googly eyes were a huge hit during this activity, but really, any art supplies you have around the house will work.
TP Roll Monsters
[THREE] Glow Stick Bath
Glow sticks are an easy way to jazz up bath time. This time of year you can find glow sticks by the Halloween candy or the party supplies at your local grocery store. Just crack 2 or 3 glow sticks, toss them in the tub, and turn off the lights for some spooky splish splash fun.
And it doesn’t have to be pitch black in the room for a glow stick bath to be fun! Just dim the lights slightly for a mid-day bath.
[FOUR] Popsicle Sticks Spider Web
Popsicle Stick Spider Web
This Halloween activity is best for slightly older kids or adults – as I enjoyed making a popsicle sticks spider web, but my son did not. For this activity, you’ll need:
3 popsicle sticks
Glue
Yarn
A decorative spider or spider ring
Arrange the 3 popsicle sticks in an asterisk* shape. Glue together in the center of each stick. Once dried, cut a long piece of yarn and tie to one stick towards the center of the asterisk. Begin weaving the yarn around the shape, looping the string once or twice around each stick. To finish, tie off the end of the web, and welcome your little spider friend to their new home.
[FIVE] Halloween Sensory Bin
Halloween Sensory Bin
This easy Halloween sensory bin takes about 10 minutes to put together and can be used all month long. You’ll need a large container, red lentils, smaller containers & scoops, and some spooky trinkets. You can check out all the details – including shopping links, through the button below.
Rainy days are no fun when you’re trying to squeeze in all that outdoor Halloween fun. But these spooky activities can help make the days stuck indoors a bit less gloomy.
Halloween Sensory Bin
Looking for an easy Halloween activity? Look no further than this Halloween Sensory Bin! This sensory bin is easy to put together and will keep your kiddos entertained for hours.
Most of the items for this sensory bin can be purchased at your local grocery or dollar store. But if you’d rather have it all shipped to your doorstep, check out the shopping links below.
Halloween Sensory Bin
Here’s what you’ll need for the Halloween Sensory Bin:
Large, shallow container
Fill (such as red lentils or dyed orange rice)
Assorted containers and scoops
Halloween / spooky items
Enjoying the Halloween Sensory Bin
The Setup
For our family, I’ve found that the best easy sensory bins have four key elements: a big container with lid (for easy storage), fill (such as beans, dyed rice, water, bubbles, etc.), a variety of smaller scoops and container, and themed-trinkets.
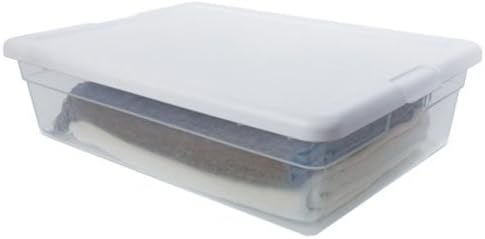
For the Halloween Sensory Bin, I used my large, 28QT container as the base container. This container is great for sensory bins as it is large, but still shallow enough for little ones to use – plus it has a lid for easy storage.
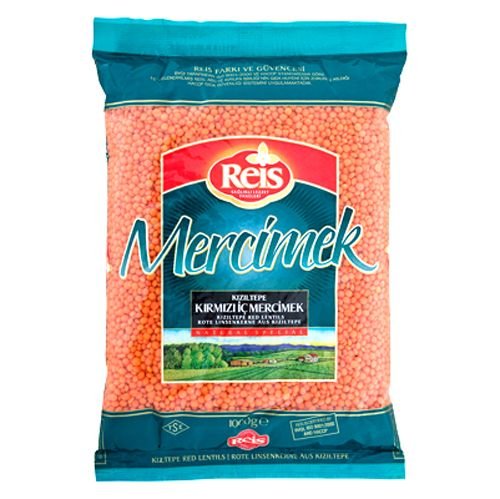
Inside the bin, I used dried red lentils for the fill. Despite the name, red lentils are the perfect orange color for a spooky sensory bin. You could also use orange dyed rice for the fill.
For the smaller containers, I included some Halloween-themed items, such as a witch’s hat, mini pumpkin pail and black cat cup. Lastly, I threw in some spooky trinkets, such a spider rings, plastic bats and rats, eyeballs.
Halloween Sensory Bin
Halloween Sensory Bin Supplies Shopping Links
Disclosure: One Little Small is a participant in the Amazon Services LLC Associates Program, an affiliate advertising program. The links in this post are affiliate links, meaning if you go through them to make a purchase I will earn a small commission. I selected the products in this guide because of their quality and not because of the commission I receive from your purchases. The decision is yours, and whether or not you decide to buy something is completely up to you.
You can pick up most of the supplies needed to make this Halloween sensory bin. But if you’d rather have everything arrive at your doorstep, you can use the shopping links below. I selected these items based on their similarity to the items I own and used for this sensory bin.
Sterilite 28QT Storage Box
Sensory Bin Container
A shallow, clear plastic container with a lid has worked best for our family when it comes to sensory bins. The Sterilite 28QT Storage Box is similar to the container we use at home. Having a lid is great – just pop it on for easy clean up.
A bag of red lentils makes for the perfect fill for this Halloween sensory bin. Alternatively, you could take white rice and use food coloring to dye it to orange perfection.
These plastic tongs are easy for little hands to grasp and helps them develop fine motor skills. Plus, the tongs are a fun tool to use in any sensory bin.
Another way to amp up the fun with sensory bins is to add different types of scoops. These plastic scoops are easy for little hands to maneuver, but are different enough to pique their interest.
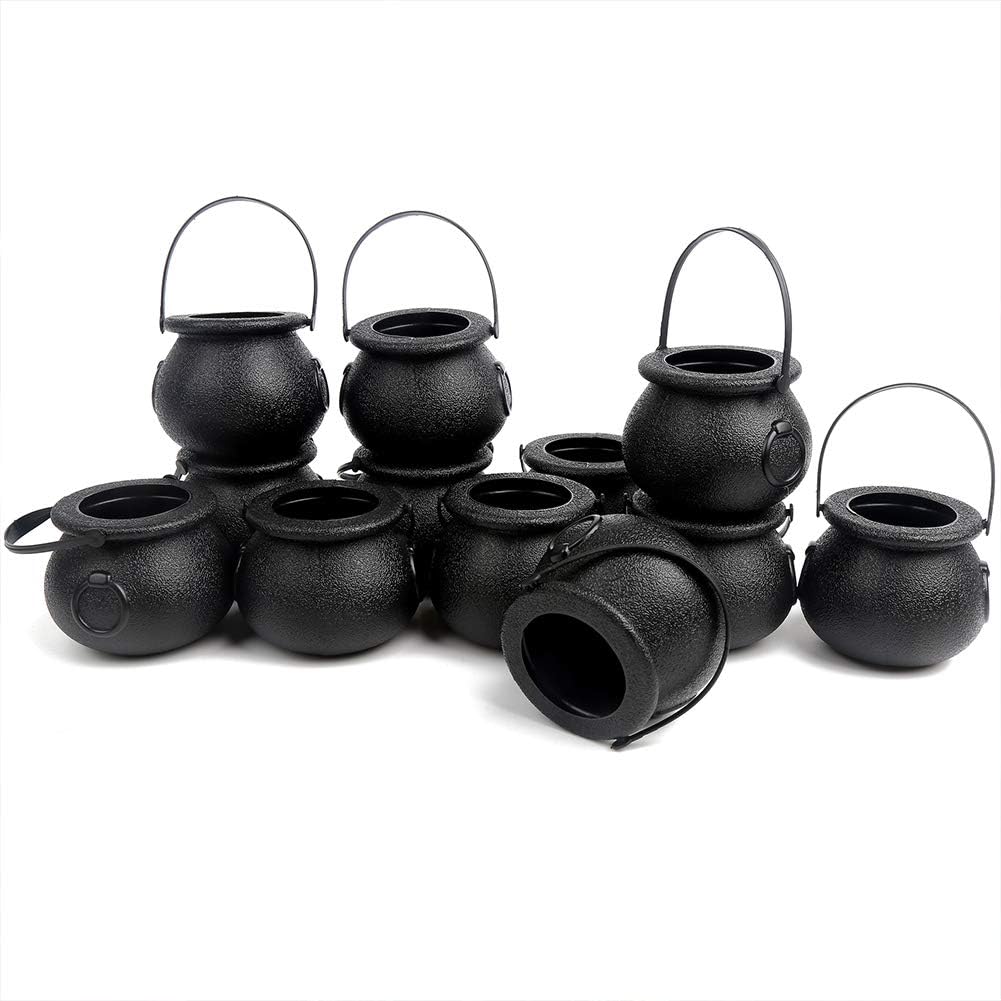
These cute little cauldrons make for a fun container for this spooky sensory bin. Plus they can double for a pot of gold for a St. Patrick’s Day bin in springtime.
Another cute container option for this sensory bin are these little pumpkin pails. And there are so many fun ways to reuse these little pails when you’re done with this activity.
And that’s it – a simple setup for a sensory bin you can use all spooky-season long. You really can’t go wrong when it comes to creating a Halloween Sensory Bin for your kiddos. Just follow these steps for creating an awesome bin.
Toilet Paper Roll Fireworks Painting
What’s more festive for the Fourth of July than fireworks? Here’s an activity to create some patriotic artwork with your little one this Independence Day.
Toilet Paper Roll Fireworks Painting
Supplies
2-3 Empty Toilet Paper Roll Tubes
Red, White, and/or Blue paint
Paper plate (to put paint on)
Scissors
Steps
Make the firework stamps from the toilet paper roll tubes. Take toilet paper roll tube and cut about a third of the way up. Repeat, cutting strips all the way around the circumference of the roll. The strips can be as thick or thin as you’d like!
TP Roll with strips cut
Fan the pieces out from the center of the roll, creating the firework shape.
TP Roll ready for painting
Repeat for each roll. 2-3 rolls are ideal to create a variety of fireworks.
Squirt paint on to paint, tray or anything with a flat surface. Add glitter and mix into paint for some extra pizzazz.
Paint + Glitter
Then let the kiddos paint their little hearts out.
TP Roll Fireworks Painting
This activity can also easily be modified to make spiders, suns, flowers, stars and more!
Looking for an easy, crafty activity to keep your kiddos occupied in the backyard? Look no further than sidewalk chalk paint. It’s easy to make – just 3 ingredients – and everything rinses clean with water.
Here’s what you’ll need for sidewalk chalk paint:
Corn starch
Water
Food Coloring
Large bowl for mixing
Wisk or spoon for mixing
6-well muffin pan
Toothpicks
A few different sized paint brushes
Sidewalk Chalk Paint Recipe
1 cup corn starch 1.5 cups water Food coloring
Stir corn starch into water until thoroughly mixed. Add corn starch until mixture is no longer runny. Pour the mixture into each muffin pan well and add a couple of drops of food coloring. Stir with a tooth pick and you’re ready to paint!
We first tried this activity last April during quarantine, and found that it was a fun and easy way to brighten up our walkways while we were stuck at home. Set up took less than 5 minutes – which is ideal when you’ve got a toddler with a short attention span! When you’re done painting, simply hose off the muffin pan, paint brushes, and yourselves if needed. Everything rinses clean with water. It’s fun, simple and kept my toddler occupied for nearly an hour!
So the next time you’re looking for something crafty to do outside, try sidewalk chalk paint!